
Firstly you can do this as cheaply or as expensively as you want most of your cost will be determined by your fabric. Most fabric ranges from $2 to $30+ . My suggestion is to go with a sturdy decorator quality material. Or a nice linen fabric. Mine was about 25$ a yard and I got it 50% off. I was able to use 1.25yrds to complete both of mine. My windows were 43in and 46in.
Secondly consider the print of your fabric or lack there of. If you chose a solid you may prefer to use a contrasting trim such as Jenny's or make a fun shape to yours. I used a geometric pattern so I wanted that to be the hero and used a simple box shape. I would recommend avoiding stripes or directional fabric, busy patterns will look better. Its very hard to keep straight lines straight when upholstering.
Materials:
Foam board
Tape
Staple Gun
1/4 or 3/8 staples
possibly liquid stitch
Fabric
Batting
curtain rod or wall hangers
tacky glue
hot glue gun

I first measured my windows and cut my foam board to the length needed. I used 3 foam boards total. I cut mine in half so mine were 10 in wide. I had to tape my two halves together and then cut the end pieces from the excess. I cut them 3 1/8 wide.

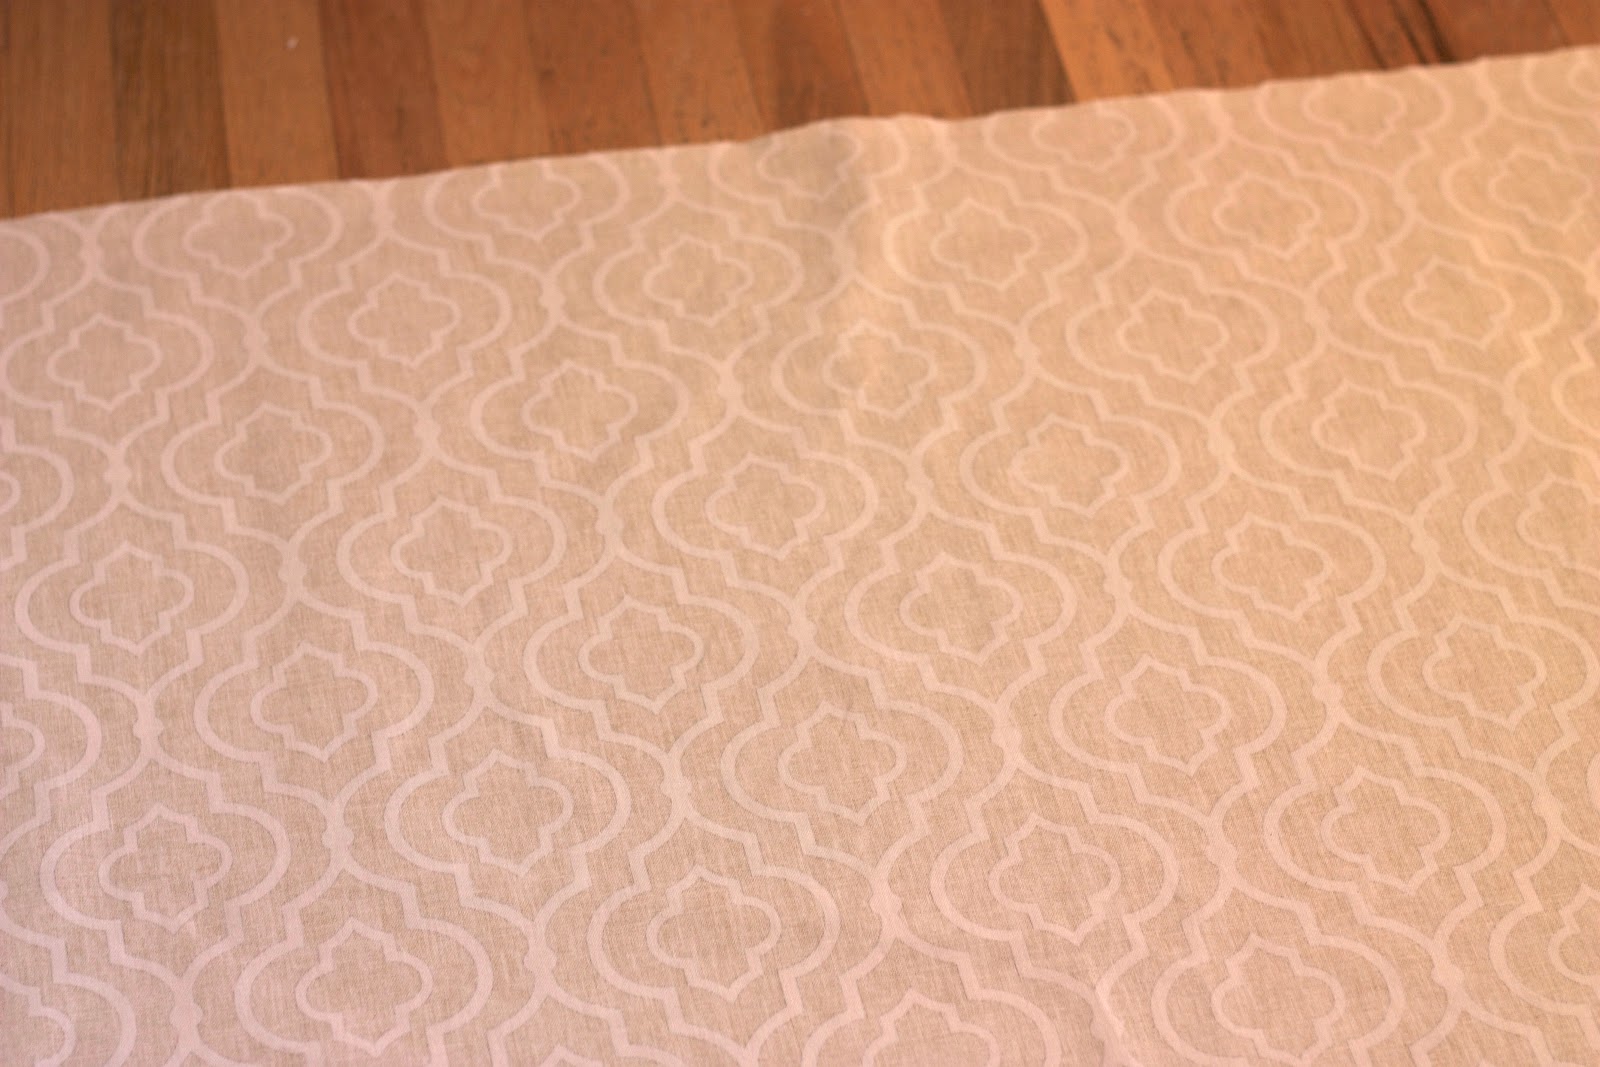
Lay your fabric right side down (print side facing the floor).

Sandwich you batting between your fabric and foam board. Make sure you align your board with the print so that its not crooked.

Starting in the middle of your board pull your fabric up and around and secure with a staple to the back of the board do this all the way down. Making sure not to shift your fabric.

When you get to a corner pull your fabric in a secure with a staple in the corner.

If you have a lot of excess batting, you can cut it away to make it easier to turn the side fabric. But don't cut too much.

For some reason this corner side would not take a staple. So i used some of my liquid stitch to secure it. Its basically a fabric glue. This brand holds pretty quickly.

Here is the glue.

Staple your side piece. I found it easiest to put my knees behind it for back pressure, Just be careful not to staple your knee ouch!

Here is a picture of the other side that took the staples.

Here is what your first side should look like.

Start working on you other side. Now is when you want to gently pull your fabric taught. You don't want to over stretch it but just make sure its smooth and not puffy underneath. Staple as you did the first side. Again try not to pull so much that you shift the pattern of your fabric.

Your done covering your pelmet box!

I chose to use the curtain rod to hang mine. I felt it gave it more support. But you can also use Jenny's technique see how she did it here.
I went and hung my rod up on the rod hinges. I marked the length it needed to be and taped in in place.

I hot glued the rod in place. I glued it about an inch down from the top of the pelmet. Now would be a good time to trim your excess fabric.
Hang your pelmet and stand back and enjoy your beautiful new addition!


.jpg)
