Thursday, February 14, 2013

Kinley's Bedroom Make Over


My 4 year old had decided the other day, that it would be a good idea to take my scissors and cut into her bedding. She got in very big trouble and has lost her privilege of using scissors for quite some time.  I was very frustrated with the fact that she had decided to tear up her nice things, but a part of me deep down jumped at the fact I could now have a very good reason to redo her room since it had been bothering me from the day we painted it pink! 

I knew I didn't want anything little girlish, I wanted something that would last and would grow with her. So here it is.. still a work in progress would like to frame some of her art and add things to the wall but it is so much more relaxing and tranquil and I very jealous of her bed spread; however, I don't think Adam would go for something like this in our room. 


Sorry for the bad picture my camera wouldn't capture a wide enough angle, but this is from the outside looking through the door and really does no justice for the room. and please ignore the mattress under the bed. We are waiting for little man to get big enough and it can be moved into his bed. As of now it's the only place we have for it. I painted the wall in mineral by bher. and moved in a grey rug that had been in our room. would like to find something else but it will do for now.

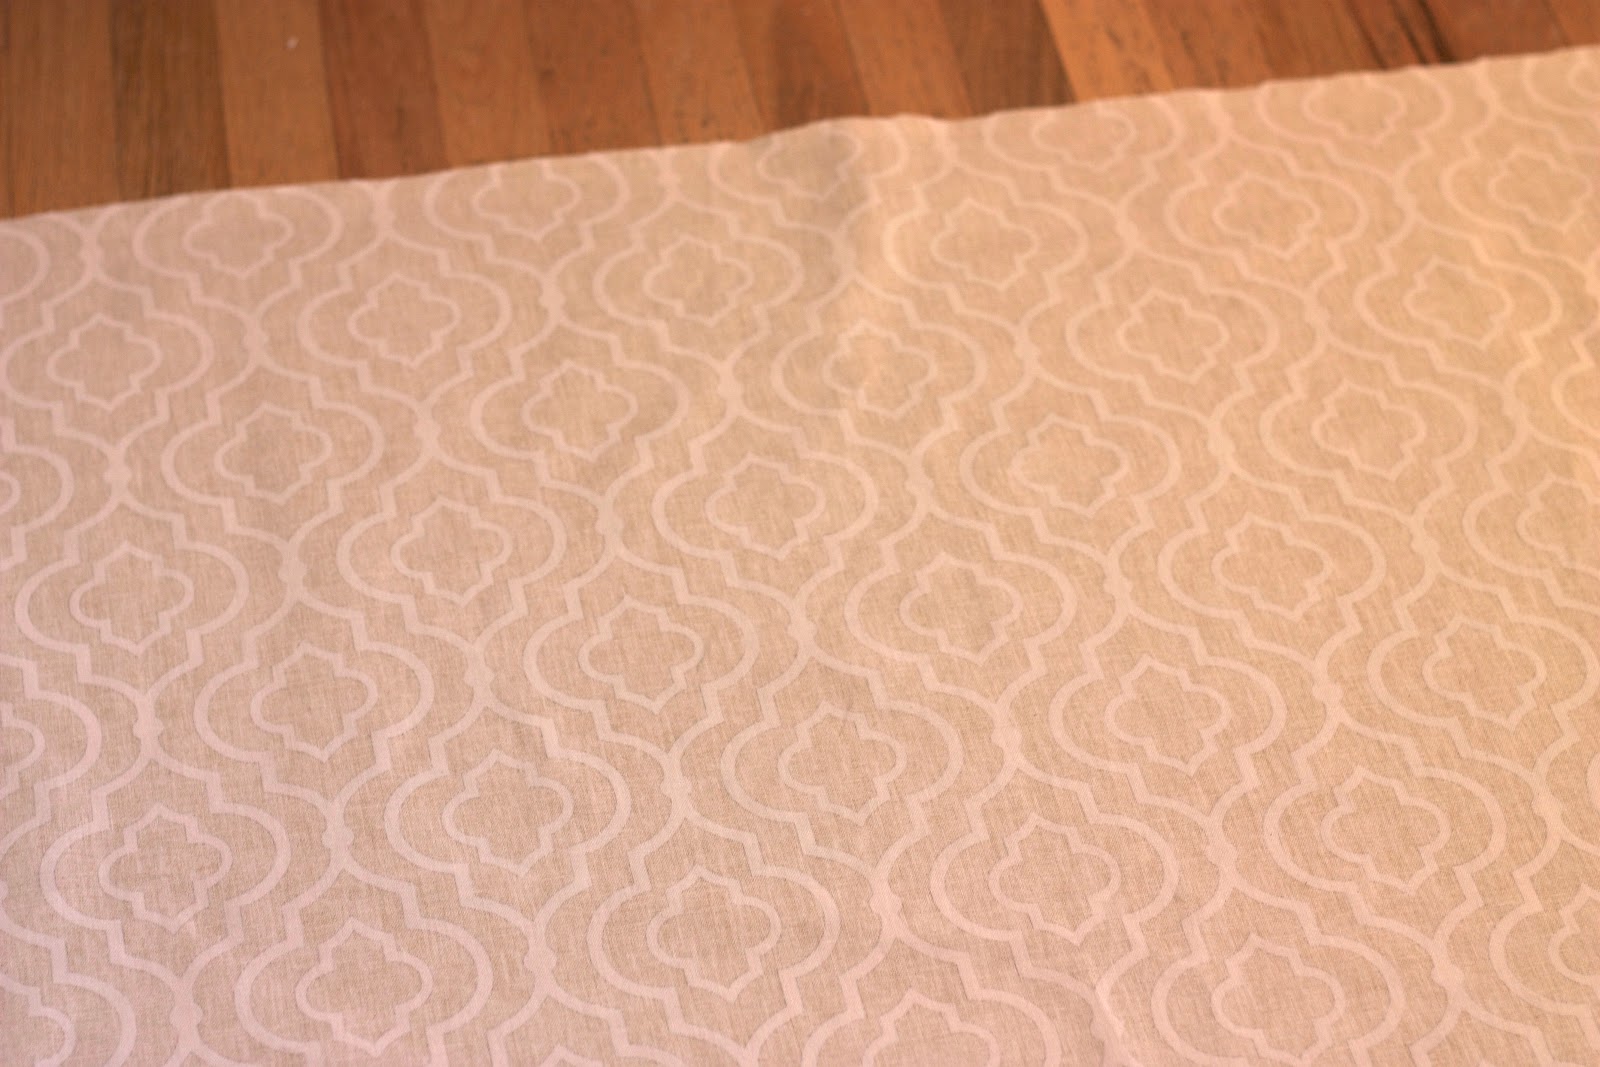
Her bedding is from Urban Outfitters and I love it! It adds enough pink with out being over baring. The pillow is from target. 

The small dresser I bought from a local antique store and painted white and destressed it. The doll house was her birthday present and a labor of love. 


This is a chair my dad made and my mom painted for me when I was little. They are now Kinley's and I love them even more now than I did then. 


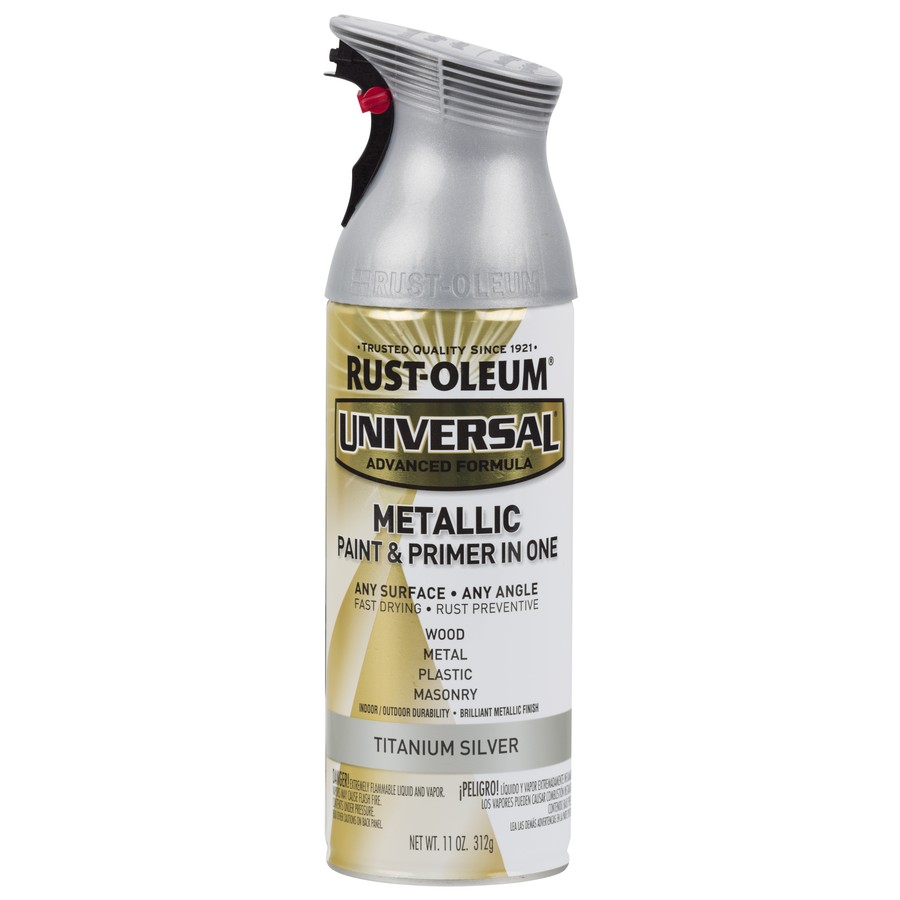
Kinley had a black Melissa and Dough Piano that she loves to play with, however it stuck out like a sore thumb so I painted its one of the colors I had used on her ombre dresser. 

This is the ombre dresser I had worked on for her. I still need to do something with her photos, like maybe update haha, and would like to spray her lamp, just haven't decided on a color yet. 


All in all im pretty happy with how it is turning out just some fine tuning and I think it will be super cute! Kinley loves it and has promised to never cut her bedding again. we shall see. 


Tuesday, February 5, 2013

How to Make a Super Simple, Super Cute Pelmet Box

Thanks to Beth Feigner, for pointing me in the direction of such a creative idea. I'm currently in the process of redoing my 4 yr olds bedroom. I was wanting to a make a pelmet box for her window but wasn't sure about the best way to do that. Beth had some amazing one's in her daughters nursery and pointed me to Jenny's blog where she explains her idea. You can find her tutorial here. I thought since I was working on mine I would snap a few pictures and give a little more detailed tutorial along with some of my recommendations. So here it goes.

Firstly you can do this as cheaply or as expensively as you want most of your cost will be determined by your fabric. Most fabric ranges from $2 to $30+ . My suggestion is to go with a sturdy decorator quality material. Or a nice linen fabric. Mine was about 25$ a yard and I got it 50% off. I was able to use 1.25yrds to complete both of mine. My windows were 43in and 46in. 

Secondly consider the print of your fabric or lack there of. If you chose a solid you may prefer to use a contrasting trim such as Jenny's or make a fun shape to yours. I used a geometric pattern so I wanted that to be the hero and used a simple box shape. I would recommend avoiding stripes or directional fabric, busy patterns will look better. Its very hard to keep straight lines straight when upholstering. 

Materials:
Foam board
Tape
Staple Gun 
1/4 or 3/8 staples
possibly liquid stitch
Fabric 
Batting
curtain rod or wall hangers
tacky glue
hot glue gun 

I first measured my windows and cut my foam board to the length needed. I used 3 foam boards total. I cut mine in half so mine were 10 in wide. I had to tape my two halves together and then cut the end pieces from the excess. I cut them 3 1/8 wide.  


 I first added glue to the bottom of the side piece and glued it to the back of the front piece. 


Lay your fabric right side down (print side facing the floor).


Sandwich you batting between your fabric and foam board. Make sure you align your board with the print so that its not crooked. 


Starting in the middle of your board pull your fabric up and around and secure with a staple to the back of the board do this all the way down. Making sure not to shift your fabric.

When you get to a corner pull your fabric in a secure with a staple in the corner. 


If you have a lot of excess batting, you can cut it away to make it easier to turn the side fabric. But don't cut too much.


For some reason this corner side would not take a staple. So i used some of my liquid stitch to secure it. Its basically a fabric glue. This brand holds pretty quickly. 


Here is the glue. 


Staple your side piece. I found it easiest to put my knees behind it for back pressure, Just be careful not to staple your knee ouch!


Here is a picture of the other side that took the staples. 


Here is what your first side should look like. 


Start working on you other side. Now is when you want to gently pull your fabric taught. You don't want to over stretch it but just make sure its smooth and not puffy underneath. Staple as you did the first side. Again try not to pull so much that you shift the pattern of your fabric.


Your done covering your pelmet box!


I chose to use the curtain rod to hang mine. I felt it gave it more support. But you can also use Jenny's technique see how she did it here.

I went and hung my rod up on the rod hinges. I marked the length it needed to be and taped in in place. 


I hot glued the rod in place. I glued it about an inch down from the top of the pelmet. Now would be a good time to trim your excess fabric. 


Hang your pelmet and stand back and enjoy your beautiful new addition! 


Monday, February 4, 2013

How To Make An Old Fan New For About $17

I recently have decided to update Kinleys bedroom. I had repainted her dresser in a fun teal ombre and painted her walls a neutral grey. Her ceiling fan looked outdated. It was brass and ugly. However it worked wonderfully and was so quite.

My husband refused to let me get a new one. "There is nothing wrong with that fan." and "your an impulse buyer". Which maybe true, but none the less, the fan was not going to flow with the design so it hit me, why not just spray it.

Here is the fan before and after...

Before


After... also a peak at the much more pleasing neutral wall color.


I think it looks like a brand new fan! Very happy with how it turned out. 

here is what I did if you are interested...

First flip your breaker to make sure the electricity is off to your fan. Then I  had my hubby disconnect everything, although its pretty easy. I had to put it back up and reconnect everything. It's a good idea to mark you wires if they aren't already...

Then I took most of the fan pieces apart and taped anything I didn't want to be sprayed. I use frog tape. 


Adam hung the light socket part and the other hanging part so that I could spray it more evenly from two saw horses with a 2x4. Everything else I just laid out on some cardboard I had from in my garage..

Here is the paint I used. I got mine at Home Depot...


It's better to do light multiple coats to avoid drips. I used just a little over 1 can. If you spray carefully you may be able to get away with just one can. I let it dry for about 3 hrs and then was able to reassemble everything. Super easy and looks like a new fan. I reattached the fan, connected the wires to the matching colors, flipped the breaker and had a great looking working fan!

 
SITE DESIGN BY DESIGNER BLOGS